I recently received a Julep Intro Box to review. Julep is a company that offers a monthly nail
polish subscription service for a fee.
You can take a style quiz to see which box (American Beauty, Boho Glam,
Bombshell, Classic with a Twist, and It Girl) matches your personality. You can opt out of any month, switch boxes,
and/or send your box to someone else as a gift.
These boxes are packaged so cute they would make a nice pre-wrapped
gift. My style was Bombshell; however I
chose to receive the It Girl Intro Box.
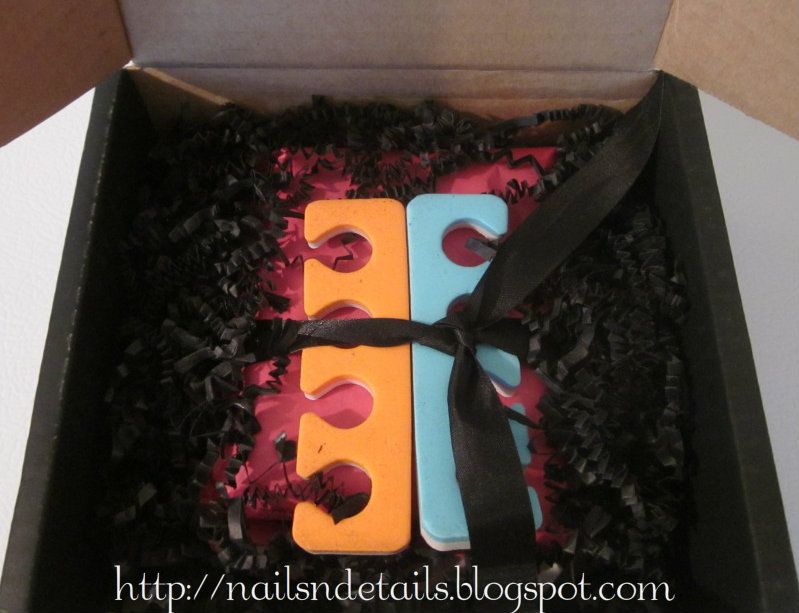
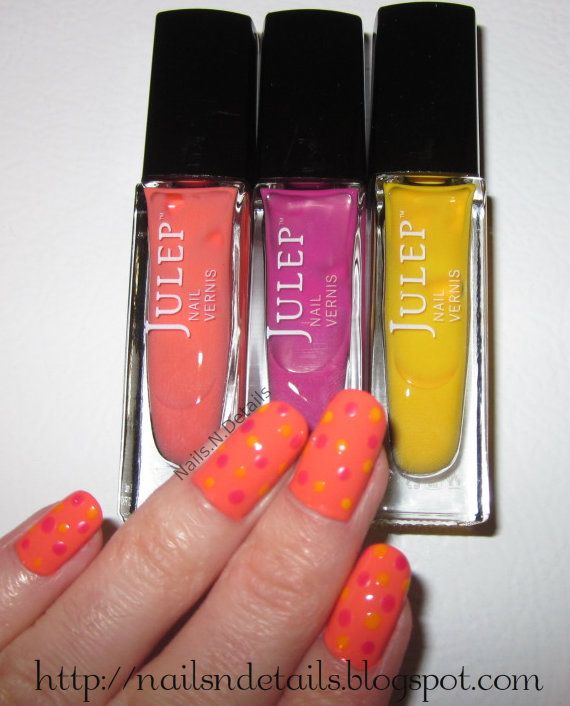
This box came with three nail polish colors and a set of toe separators.

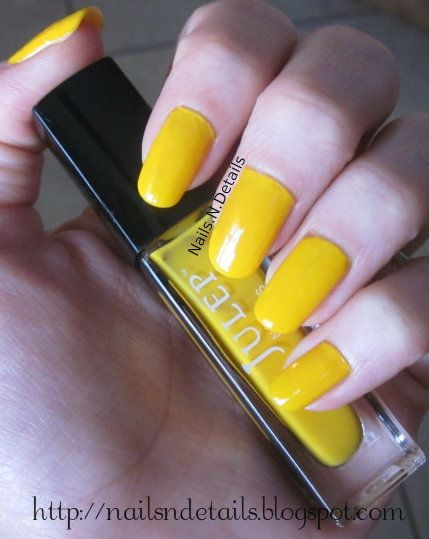
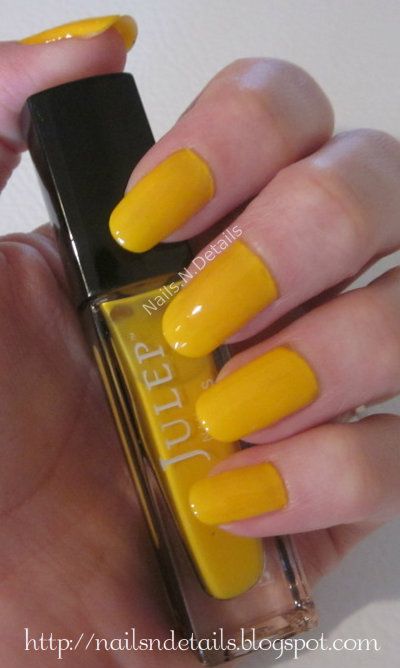
The first polish I used was Daisy. Daisy is a yellow cream polish. I started with L.A. Colors base coat-top
coat, and then applied two coats of Daisy.
This is a nice bright polish that went on smoothly. As I was painting my nails I could see little
bubbles, and sure enough I ended up with little air bubbles on my nails. This polish took a long time to dry. When Daisy did dry, I added N.Y.C.’s Grand
Central Station. The second coat of
Daisy along with the top coat of Grand Central Station really helped reduce the
appearance of the air bubbles.
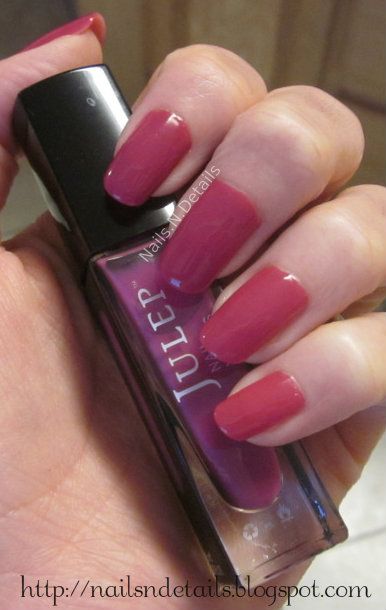
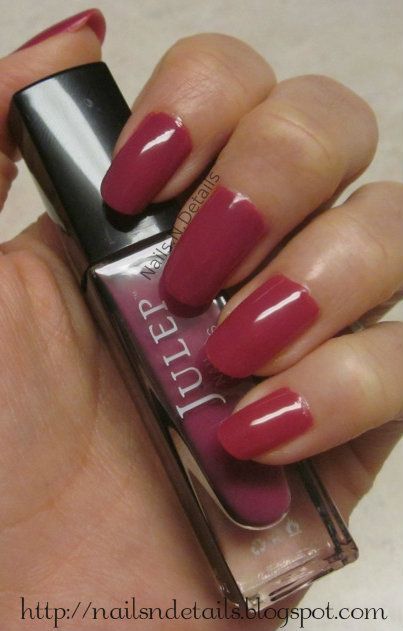
The second polish I tried was Lily. Lily is a fuchsia cream polish. Again I used L.A. Colors base coat-top coat
to start. I followed with two coats of
Lily and a top coat of N.Y.C.’s Grand Central Station. As I started applying Lily, I could not
believe how pretty the color was! It
reminds me of a glossy version of Dream On.
I did not have as many bubbles with Lily as I did with Daisy, and Lily
dried a lot faster.
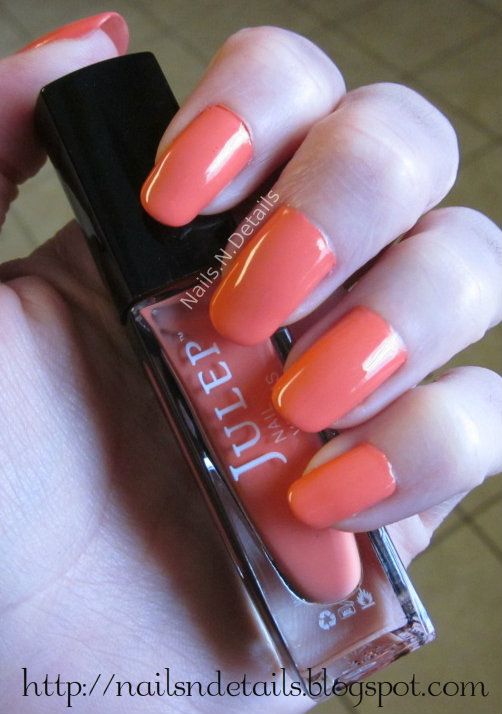
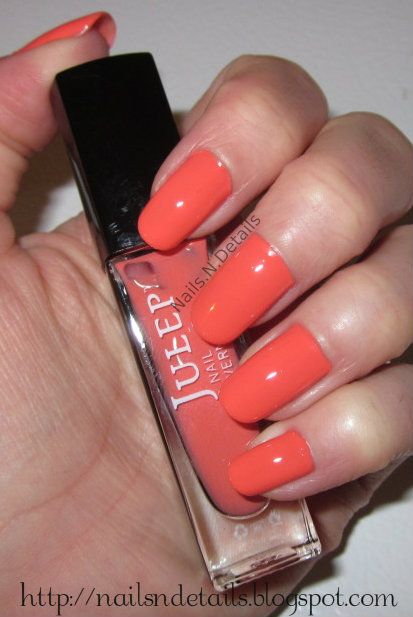
My favorite of the three colors in the bottle was
Sasha. Sasha is a melon cream
polish. I started with L.A. Colors base
coat-top coat followed by two coats of Sasha and a top coat of N.Y.C.’s Grand
Central Station. There was minimal
bubbling with Sasha that was not visible after applying a top coat. Drying time for Sasha was average and about
what I except from most nail polishes.


The one thing I did not care for with these polishes was the
bubbling. I did not handle or use these
polishes any different than I do any other nail polishes as far as shaking the
bottles, painting my nails, or drying my nails go. These polishes were packaged very well and individually
wrapped in plastic coverings, so I do not think any kind of polish thinner was
added to them (which I hear can cause bubbling). I do not know why these polishes bubbled up
on me. Again, a second coat of nail
polish and a top coat helped reduce and/or eliminate these bubbles.
UPDATE: I was informed by Natasha from Julep that it is recommended to roll the Julep bottles to mix them instead of shaking them like you would other nail polishes. This is because of the unique shape of Julep nail polishes. Rolling the bottles helps with the bubbling.

Overall I really like these three colors. They applied easily. I think they are great for the warm
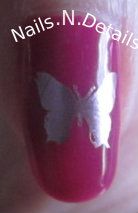
weather. I stamped over Lily using Pure
Ice Outrageous and Mash-28 image plate.
I really like these two colors together.
I think all of the colors in the It Girl Intro Box go well
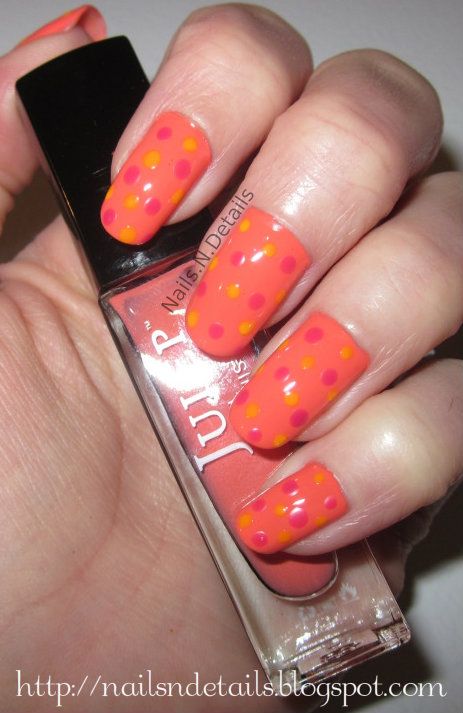
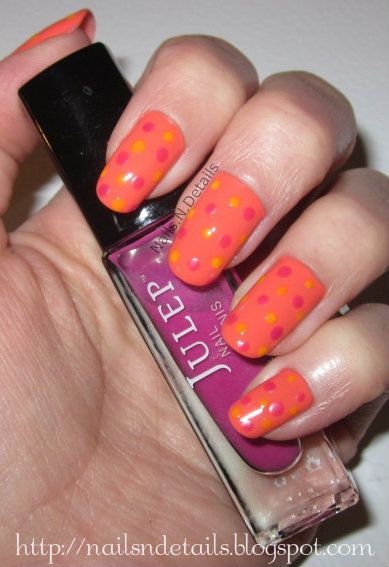
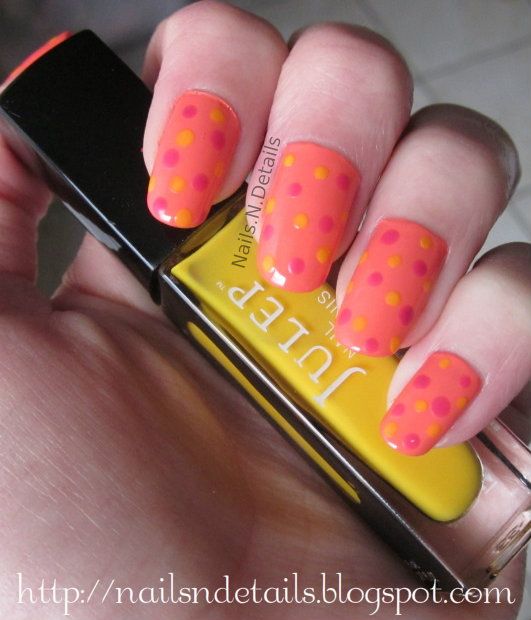
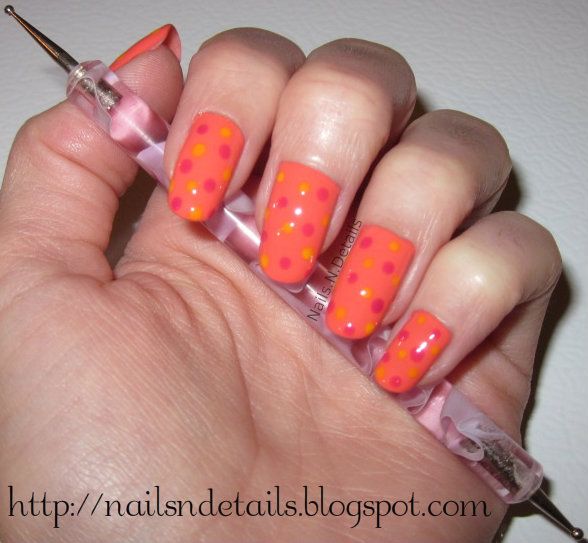
together. I added dots of Lily and
slightly smaller dots of Daisy over Sasha to create a cute and easy
doticure.
You can sign up for Julep though my
referral link. If you enter promo code “MAVENINTRO” you will
get your first Maven box for just a penny!
At that price, this is definitely a polish to try! You can win a free Julep Intro box here. Simply fill out the Rafflecopter fields
below. The giveaway will run until July 27th. If anyone signs up, or you are
the lucky winner here, let me what you think of Julep and send me a link if you
do a review. Good luck everyone!
(Julep products sent for review)
a Rafflecopter giveaway